
AI Website Designing
How to Create a Professional Website Using AI in 2026
· 8 min read
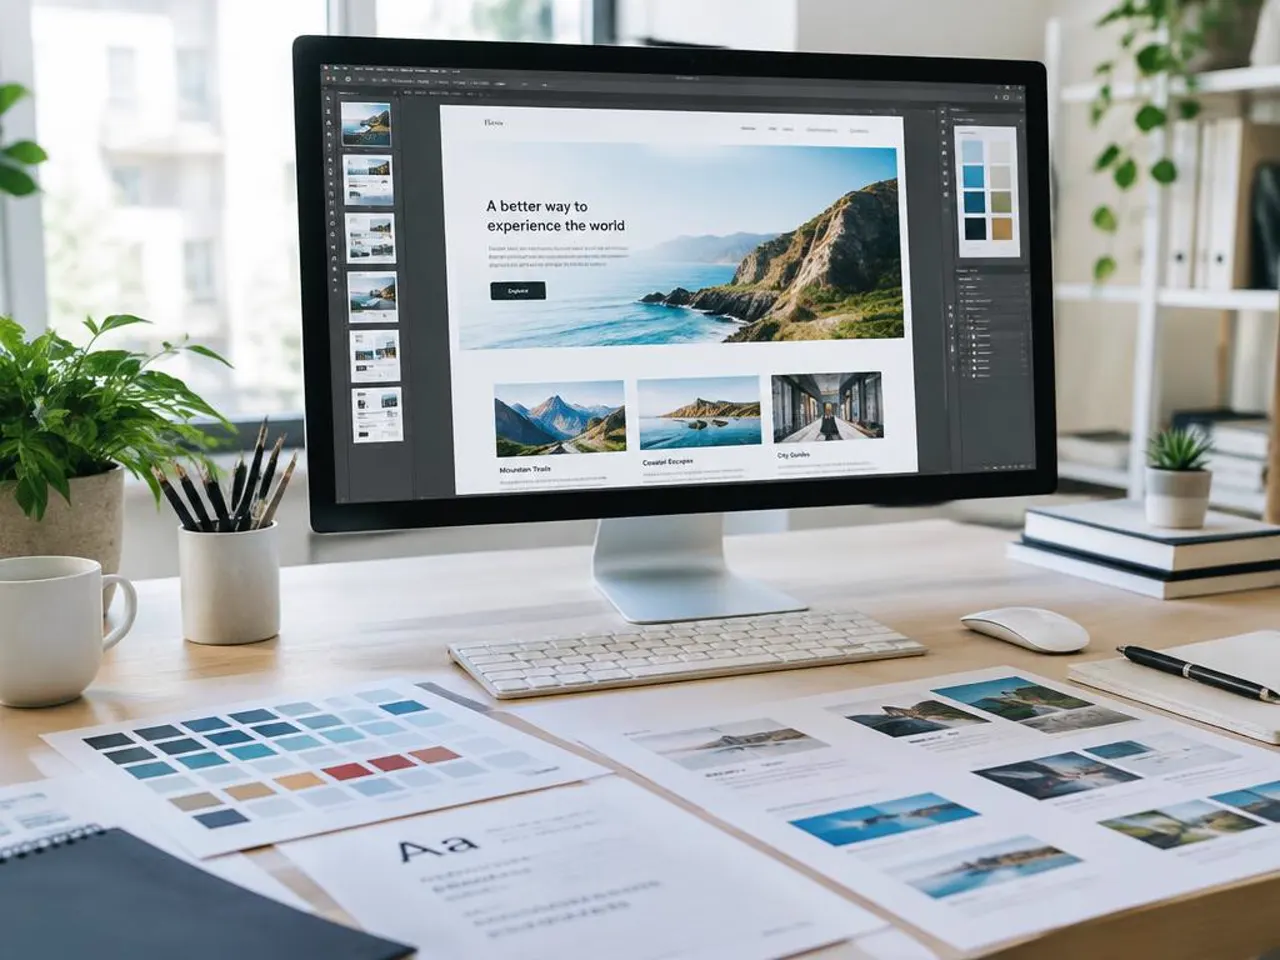
A practical, beginner-friendly 10-step guide to planning, generating, polishing, publishing and improving a professional website with AI tools — with an example prompt, an SEO checklist and honest expectations.
Introduction: what AI can and cannot do for your website
AI website-design tools have changed how people build websites. Students, freelancers, small business owners and larger teams can now describe the site they want in plain language and get a working first version in minutes instead of weeks.
That speed is real, but it is only the starting point. An AI tool does not know your customers, your prices or your goals unless you tell it, and it can produce confident-looking text that is simply wrong. The best results come from combining AI speed with careful planning, human review and proper testing. This guide walks you through that process step by step.
Step 1: Define the website's purpose
Before opening any AI tool, write down why the website exists. A clear purpose makes every later decision — layout, wording, images — much easier, and it makes your AI prompt far more precise.
- Target audience: who will visit? For example, local customers, students, or companies looking for a supplier.
- Main goal: what should a visitor do? Book a call, send an enquiry, buy a product or join a course.
- Main call to action: choose one primary action, such as "Request a quote" or "Message us on WhatsApp".
- Required pages: list the pages you genuinely need — not every site needs a blog or a shop.
- Content you already have: logo, real photos, service descriptions, contact details and any legal text.
Step 2: Plan the website structure
Sketch a simple site map. Most small professional websites work well with a short, predictable structure that visitors can understand at a glance.
Homepage
Explain what you do, who it is for and the next step, all in the first screen. Add short sections that lead to your key pages.
About page
Introduce the people or story behind the business. Use real facts only — visitors and search engines value honesty.
Services or Products page
Give each important service or product its own clear section or page with what is included, who it suits and how to start.
Contact information
Make it easy to reach you: email, phone or WhatsApp, an enquiry form, and your address only if you want visitors to use it.
Supporting pages
Add a privacy policy, terms and, where relevant, FAQs, a portfolio of real work or helpful articles.
Step 3: Prepare an effective AI prompt
AI builders respond to detail. A vague prompt such as "make me a website" produces a generic result. Describe the business, audience, style, pages, features and technical needs. Here is an original example you can adapt:
"Create a professional website for Green Leaf Interiors, a small interior design studio serving homeowners in Hyderabad. Audience: families renovating apartments who want practical, budget-aware design advice. Visual style: calm and modern, white and warm beige backgrounds, deep green accents, generous spacing, a clean sans-serif font. Pages: Home, About, Services (consultation, full-home design, modular kitchens), Portfolio, and Contact. Main call to action: 'Book a free consultation' opening a short form with name, phone, email and project type. Must be fully mobile responsive, with accessible colour contrast and keyboard navigation. Add unique page titles and meta descriptions, one H1 per page, descriptive image alt text and a clear heading hierarchy. Do not invent testimonials, awards or prices — leave clearly marked placeholders where I need to add real content."
Notice that the prompt asks the AI not to invent content. That single instruction saves a lot of clean-up later.
Step 4: Generate the initial design
Most AI website builders will produce a full layout from your prompt: navigation, sections, colours and placeholder text. Treat this as a first draft, not a finished product. Review it like a careful editor and ask the tool for specific, small changes rather than starting again.
- Typography: are headings clearly larger than body text, and is body text comfortable to read?
- Spacing: do sections have room to breathe, or does the page feel crowded?
- Navigation: can a first-time visitor find every important page in one or two clicks?
- Visual hierarchy: does the most important message stand out first?
- Calls to action: is the main button obvious, consistently worded and working?
Step 5: Add professional images and content
Images and words do most of the work of building trust. Replace placeholder content with accurate, specific information, and choose visuals that actually relate to what you offer.
- Use relevant, realistic visuals — your own photos are best; otherwise use properly licensed stock or generated images and never present them as your real team or premises.
- Check every sentence for accuracy, especially prices, timings and promises. Remove anything you cannot stand behind.
- Compress images and use modern formats such as WebP or AVIF so pages load quickly.
- Write descriptive alt text that explains what each meaningful image shows, for screen-reader users and search engines.
Step 6: Make the website mobile-friendly
Many visitors will see your site on a phone first. AI tools usually generate responsive layouts, but you still need to check them on real screen sizes.
- Layouts should stack neatly on small screens with no sideways scrolling.
- Body text should stay readable without zooming.
- Buttons and links should be large enough to tap comfortably and spaced apart.
- The mobile menu should open, close and reach every page.
- Test on at least one real phone and in your browser's device preview at several widths.
Step 7: Configure technical SEO
Technical SEO helps search engines discover, understand and display your pages correctly. Check these basics before launch:
- A unique, descriptive page title and meta description for every page.
- A canonical URL on each page that points to that page's own preferred address.
- One H1 per page, followed by logical H2 and H3 headings.
- Internal links between related pages with descriptive link text.
- Alt text on meaningful images.
- An XML sitemap listing your important public pages.
- A robots.txt file that does not block pages you want found.
- No accidental "noindex" directives on pages that should appear in search.
A realistic expectation
Good technical SEO supports discovery, but it does not guarantee rankings or indexing. Search engines decide what to index and how to rank it based on many factors, including how useful and original your content is.
Step 8: Connect a domain and publish
A custom domain makes your website look established and easier to remember. The exact steps differ between providers, so follow your own registrar's and host's documentation, but the general process is similar everywhere.
- Choose a short, memorable domain that matches your business name.
- Set up hosting, or use the hosting provided by your website builder.
- Connect the domain by updating its DNS records as your host instructs.
- Make sure HTTPS is active so the site loads securely with a padlock.
- Test every link, form and page on the live address before you announce it.
Step 9: Test performance and accessibility
A fast, accessible website is more pleasant for everyone and easier to use for people with disabilities. Free tools such as Google PageSpeed Insights can point out problems.
- Optimise and correctly size images.
- Avoid unnecessary scripts, widgets and fonts that slow the page down.
- Prevent layout shifts by giving images fixed dimensions.
- Check that every form submits correctly and every link works.
- Ensure enough colour contrast between text and background.
- Make sure the whole site can be used with a keyboard alone.
- Measure mobile performance, not just desktop.
Step 10: Monitor and improve
Launching is not the end. Google Search Console is a free tool that lets you verify your site, submit your sitemap and see how your pages appear in Google Search, including impressions, clicks and any indexing problems Google reports.
Be patient: Google may take days or weeks to discover and index new content, and some pages may not be indexed at all. Use what you learn to improve unclear pages, fix reported issues and add genuinely helpful content over time.
Conclusion: your pre-launch checklist
AI can help you build a professional website remarkably quickly. Planning, honest content and careful testing are what make it trustworthy. Before you launch, confirm that:
- The purpose, audience and main call to action are clear.
- Every page contains accurate, real information — no invented claims.
- Images are relevant, licensed, compressed and have alt text.
- The site works well on phones, tablets and desktops.
- Titles, descriptions, headings, canonicals, sitemap and robots.txt are in place.
- The domain loads over HTTPS and every link and form works.
- Speed and accessibility checks have been run.
- Google Search Console is set up to monitor the site.
Frequently asked questions
Can beginners create websites with AI?
Yes. Many AI builders let you describe a website in plain language and refine it through conversation, so you do not need to code to get started. You still need to plan your content, review the result and test it carefully.
Do AI-built websites need SEO?
Yes. An AI tool may add some basics automatically, but you should still check titles, descriptions, headings, internal links, alt text and your sitemap, and make sure the content is genuinely useful.
Can an AI-designed website rank on Google?
It can, because Google evaluates the page and its content rather than how it was built. Rankings are never guaranteed and depend on content quality, relevance, competition and many other factors.
Do I need a custom domain?
It is not strictly required, but a custom domain looks more professional, is easier to remember and keeps your web address under your control if you change tools later.
Should I test the website before publishing?
Always. Check every page on mobile and desktop, submit each form, click every link and run speed and accessibility checks. Problems are far easier to fix before visitors find them.